
Toddler Room Makeover
Toddler Room Makeover
Looking to refresh a room on a budget? Here's what I did for my 2 year old's room.
When we first purchased our home last year, the biggest eye sore was what was going to be Ryan's bedroom. It is one of four rooms in the house, but every wall was painted with both hot pink and neon green. There were purple sequin curtains, brown stained (with blue nail polish) carpet and it was the hottest room in the house.

The cheapest, biggest and easiest upgrade you can make in a room is paint. I had a vision of a much softer appearance and something that would appeal to more than just my taste. So I went with Sherwin Williams "Bistro Cafe" using Valspar 2000 paint in eggshell. I've painted room with flat paint before, and you learn quickly that it's not wipeable. And for a toddler boy's room...the walls definitely need to be wiped down occasionally.

BEFORE

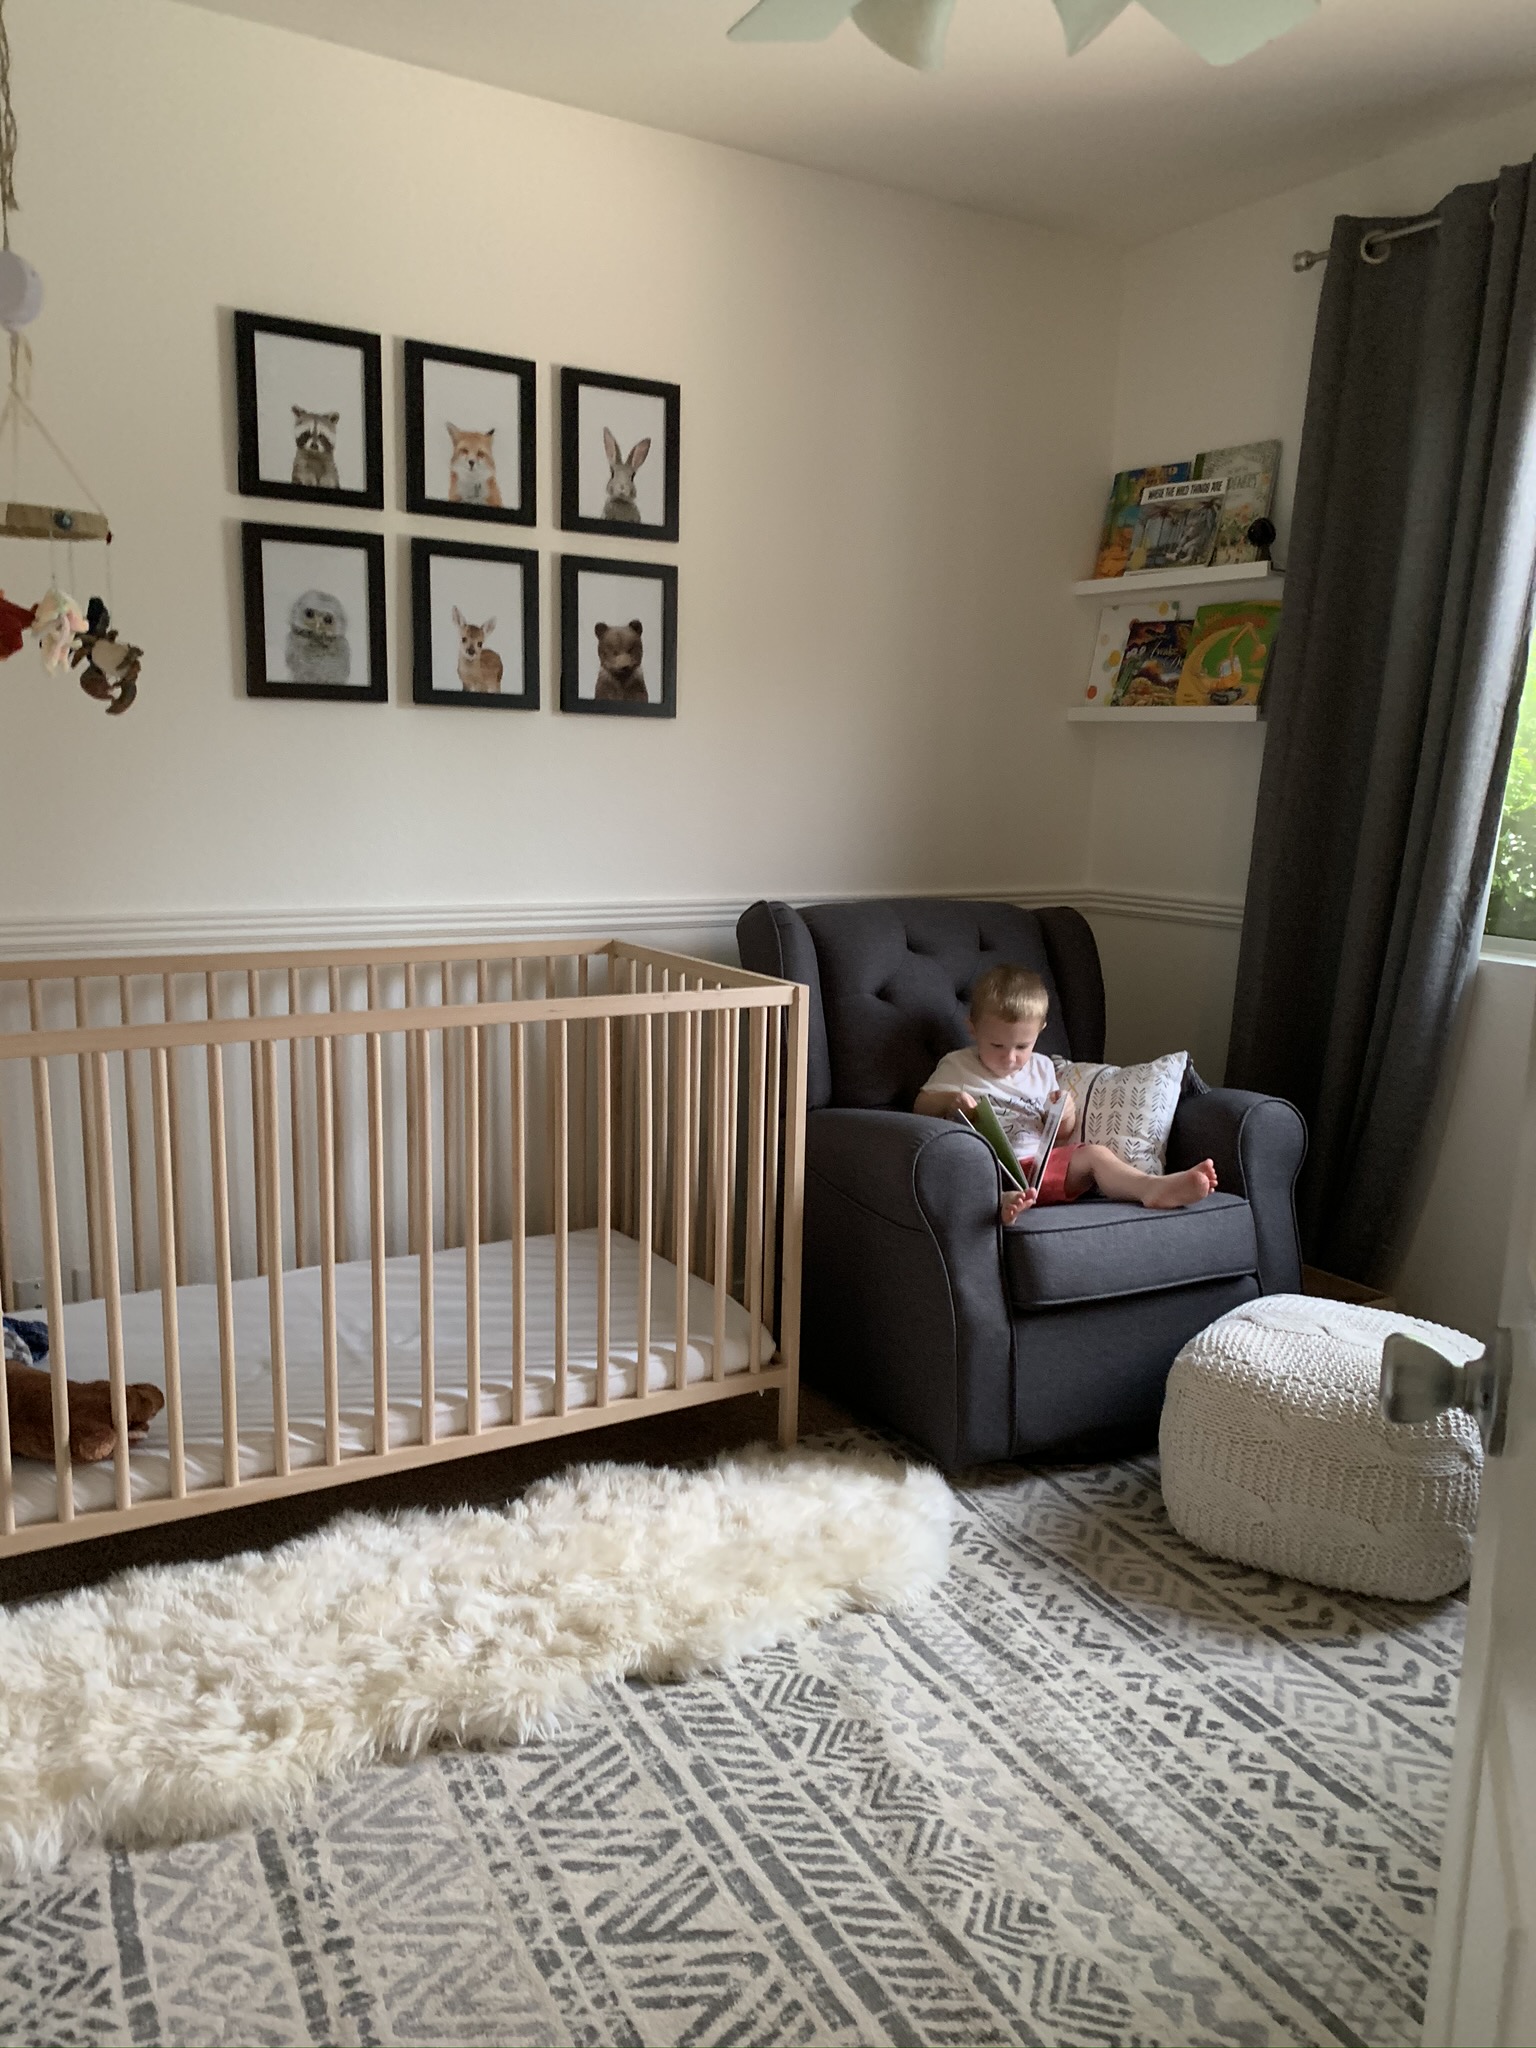
AFTER
If you've never painted a room before, it's super easy, and here's how I do it.
Things You'll Need:
- Primer Paint
- Tinted Paint (About 1 gallon per small bedroom)
- Rollers
- Angled Brush
- Bucket
- Step Ladder
- Screw Driver
- Plastic Cover
- Rags
- Paint Tray (Both plastic and metal tray)
- Plastic Ziplock Bags
Find Inspiration
I looked everywhere for ideas on how I wanted Ryan's room to look. Pinterest, Houzz, and considered just using the paint color I painted the interior of our last house. I had to go a different route than what paint I used before because Ryan's current bedroom doesn't have as much natural light as our house in North Carolina. I had some leftover paint in the garage from the previous owners, but everything was still too dark and heavy for that room. I also needed something I could get same day, that was relatively inexpensive, timeless and would match the rest of the house.
Test the paint you like
Make sure the paint you got is the color you really want and paint a sample of it on the
. Make the swatch on the wall big enough so you can imagine it on the entire wall, and paint it on more than just one wall.
Prepare the Room
Once you've decided on the color you like and have all of your materials ready to go, it's time to start preparing the room you're painting. Ideally, the room should be empty when you're painting. Instead, I moved all of the large furniture items to the middle of the room and covered them to protect against paint splatter. I temporarily setup the crib for Ryan in another room so I could paint while he napped and avoid having him in a room with paint fumes.
Next, I removed the old dingy curtains, shelves, and blinds then wiped all of the baseboards and chair rail clean. I also removed all of the outlet covers and put them in a marked plastic bag so I didn't lose any pieces.
You should consider filling any holes in the walls, changing air filters and replacing the batteries in the smoke detectors. That way, it's like a brand new room when you're finished. I went another step further and even replaced the bulbs in the ceiling fan.
I don't care for the carpet in that room, and it's already stained so I didn't put anything down to protect it, where normally I would have plastic or flattened cardboard boxes down.
Cut the edges
I don't use painters' tape. I've tried all kinds of tape and techniques, but what works best for me is a brand new angled brush to cut all of the corners and trim. I start in one corner at the ceiling, work my way clockwise around the room, and down the corners, and finish with the baseboards.
Since I didn't want any hint of the dramatic colors coming through the white paint, I started with Killz water-based all purpose primer. This tuff means business. I'd rather paint over a clean slate, than paint multiple layers of the same color, just to see some of the previous color underneath.

Roll
After every corner and edge is painted, it's time to roll your primer. Be generous and even with these coats. You can always get more paint, but it's a pain to have to go back again if you missed a spot or were not liberal enough the first time. I start in the same corner where I started cutting the edges and work my way from top to bottom, left to right rolling the primer. Once you're finished, the primer will probably need a few hours to completely dry before you should attempt the next paint color.
Wash Your Tools
Nothing is worse than dried paint on your rollers and brushes. Make sure you thoroughly wash your tools of all paint before calling it quits. I'll usually take everything I've used outside and run the hose over the tools until the water runs clear. Shake em out and leave them outside to dry.
Repeat (Cut, Roll, Wash)
Once your primer is dry, now it's time to start cutting the edges with your next paint color. After that is done, roll! Now wash your rolls and give the paint time to dry.
Touch Ups
When the paint is done drying, I'll go back through and make sure there aren't any bare spots and the color is applied evenly.
Put everything back
I put all the furniture back, hung up some fun pictures, installed some shelves, replaced the blinds, and hung new curtains. To help block out the light from the window and hopefully cool off the room, I got blackout curtains and they work great! They were simple to install, fit the window perfectly and do what they're advertised to do. Framing the window with long curtains helped to make the window appear bigger, help block out all of the sunlight for napping and add a little color and texture to the room. Since I disliked the carpet but wanted to makeover the room on a budget, I got a rug and am really happy with how it looks.
Tips & Tricks
- Typically, paint dries a darker color than when it's first painted and wet on the walls. Be mindful of that when you're painting a room, especially when painting a swatch on the walls before you start.
- If you have to take frequent breaks, like I did, a quick tip is to put your wet paint tools in a ziplock bag. I'll put a paint brush in a gallon size ziplock bag, so the paint doesn't dry while I have to stop and come back later. If you need to stop while you're rolling paint, you can do the same thing with a large garbage bag. Put your roller in the paint tray, and put the entire thing inside the garbage bag and tie it shut. These are just temporary solutions, so if you know you'll be done for the day, be sure to thoroughly wash your tools.
- I like to "Fix" the fibers on my paint brush after it's been washed. If there's hairs sticking out of place, manipulate them back into shape so when it dries it will be the right shape and no strays will get in the way the next time you paint.
- I like to have a small bucket of warm water and rags handy while I paint. Sometimes I have an oops and need to wipe something up quickly, or wipe my hands occasionally.
I am not a professional painter, this is just advice and what I do when I paint a room.
Have fun!
This post may contain affiliate links. Using links to these sites means I may
earn a percentage of the purchase at no extra cost to you.


0 comments